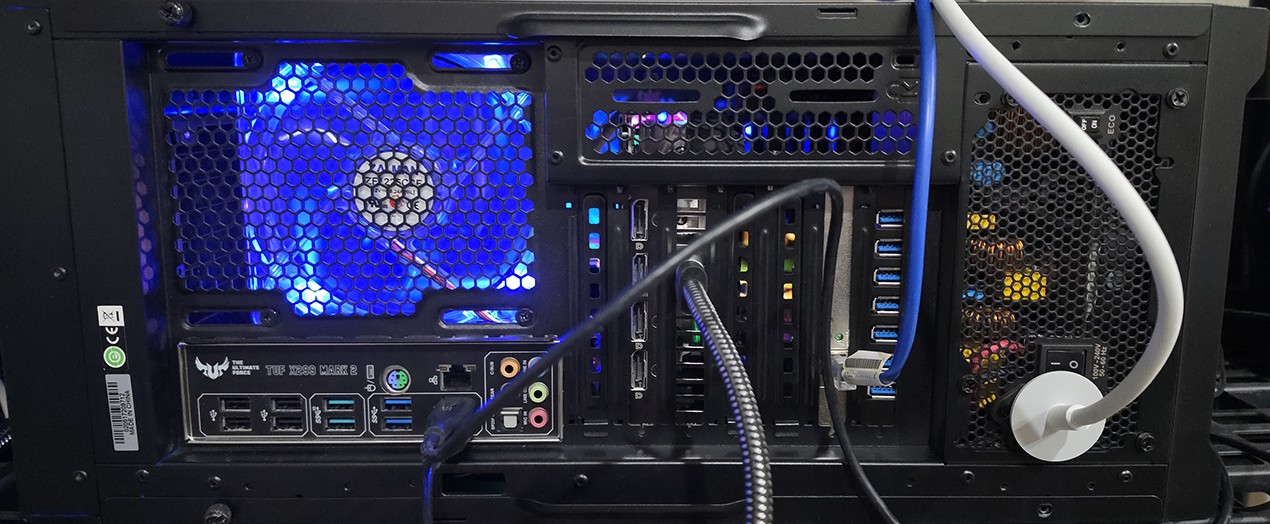
Most tech guides make home servers look terrifying. They tell you to buy expensive server racks, write complex terminal code, and manage confusing virtual networks. Over the years, I have set up a few servers in my home. I have purchased Raspberry Pis for servers that have a specific purpose like Octoprint for my Ender 3 and Home Assistant, but for the most part my servers have mostly been old computers that I no longer used. My current main server in my home is my old gaming PC. My very first in-house server I made was from my mother's old PC that couldn't handle newer versions of Windows, so I put Ubuntu on it. It ran for years. That machine was only replaced because I wanted more space. It only had the capacity for one hard drive, so I rigged up a secondary SSD using a zip tie to the case.
This guide walks through the exact path I took, from finding the hardware to installing your first app, without a single line of code you have to memorize.
Step 1: The No-Cost Hardware Checklist
Don't spend a dime on new equipment yet. Like I said, most of my servers have been old computers I wasn't using daily anymore. Look around your house for:
- An Old Laptop or Desktop: Anything made in the last 10 years with an Intel Core i3/i5 or AMD Ryzen processor is perfect. Four gigabytes of RAM is enough to start, eight is comfortable.
- A Mini-PC: Those tiny square computers make incredible, silent, low-power servers. My old gaming PC pulls more from the wall than any of these ever would.
- The Essentials: A single ethernet cable to plug directly into your home Wi-Fi router, and a USB thumb drive (8GB or larger). The thumb drive gets wiped during setup, so use one you don't care about.
Step 2: Pick Your Software Path
Instead of using confusing enterprise software, use an operating system built around a simple graphical user interface (GUI). When I started I used Ubuntu's default Gnome desktop, then added a friendlier layer on top. Here are the three paths worth knowing before you install anything:
- CasaOS (The Easiest Choice): This is a free software layer you install right on top of a standard operating system like Ubuntu Linux. It gives you a clean dashboard with an "App Store," and installing a server application comes down to clicking a button. This is the path the rest of this guide follows.
- Unraid (The Best for Storage): If you want to plug in a bunch of random hard drives you have lying around to save movies, files, and backups, Unraid is king. The interface is clean and it keeps your data safe if a drive dies. Worth knowing Unraid is a paid one-time license, not free, so budget for that if you go this route.
- Gnome: If you want a GUI that feels more like a desktop PC such as Windows 11 or MacOS, then use Gnome. It's the standard Ubuntu desktop, though on its own it isn't built to run isolated server apps the way CasaOS does.
Step 3: Make the Bootable USB Installer
Before the old PC can become a server, the Ubuntu installer needs to live on that USB thumb drive. Head to ubuntu.com on your regular computer and download Ubuntu Desktop, which is a single file ending in .iso. Then grab a free tool called balenaEtcher, or Rufus if you're on Windows and prefer it. I've always used Rufus, though both do the same job. Open the tool, point it at the Ubuntu .iso file you downloaded, select your USB drive, and hit flash. It takes a few minutes and wipes the drive completely, which is expected. When it finishes, you have a bootable Ubuntu installer sitting in your pocket.
Step 4: Install Ubuntu on the Old PC
Plug the USB drive into the old computer and turn it on. You need to tell the machine to boot from the USB instead of its old hard drive, and that means tapping a key the second it powers on. It's usually F12, F2, Escape, or Delete depending on the brand, and the screen often flashes the right key for a moment. Once you're in the boot menu, pick the USB drive.
Ubuntu loads into a friendly installer that walks you through the whole thing. Choose your language, pick "Install Ubuntu," and when it asks about the disk, let it erase and use the entire drive since this machine is becoming a dedicated server now. Set a username and a password you'll actually remember, because you'll type that password every time the server needs permission for something. The install runs for a while on its own, then asks you to remove the USB and restart. That's it. The old PC is now running Ubuntu. When I did this on my mom's old machine, the part that surprised me was how normal it felt, just a clean desktop where a dying copy of Windows used to be.
Step 5: Install CasaOS on Top of Ubuntu
Here's the one moment you touch the terminal, and the one place I'm steering you away from what I actually did. I used the desktop version of Ubuntu, which came with Gnome, and I ran every server since through the terminal by hand. If I were starting fresh today I'd skip Gnome entirely and use CasaOS, which is exactly why I'm pointing you there. It's a single copy and paste line. Open the terminal and type or paste this in:
curl -fsSL https://get.casaos.io | sudo bash
Type your password when it asks, then let it run. CasaOS installs itself and, when it's done, prints an address that looks like a set of numbers, something close to 192.168.1.50. That number is your server's address on your home network. Write it down. From now on you never need to sit in front of the server again. You can close it up and control everything from your laptop.
Step 6: Install Your First Apps
On your regular laptop, open a web browser and type in that address CasaOS gave you. The dashboard loads right up. This is where the whole thing pays off, because you don't need to code anything else. Open the built-in "App Store" and click install on the things you want to run:
- Plex or Jellyfin: Instantly turns your old computer into your own private Netflix. Drop your media files onto it and watch them on your TV, phone, or tablet. I personally use Plex for my media server and it's the app I'd install first every time.
- Nextcloud: Your own private Google Drive or Dropbox. Sync your phone photos and documents directly to your server so you never have to pay for cloud storage upgrades again.
Step 7: The Three Golden Rules for Beginners
To keep your first project completely stress-free, stick to these rules:
- Plug it into the router: Don't use Wi-Fi for your server. A physical ethernet cable keeps your connection fast and stable.
- Don't open internet ports: Keep your server strictly on your home network for now. If you can only reach it while sitting on your home network, it is much safer.
- Turn off laptop sleep mode: If you are using an old laptop, go into the power settings and change "When I close the lid" to Do Nothing. Now you can close the laptop, tuck it away in a closet, and let it run.
That's the entire process. The first time one of these old machines came back to life as something useful, it changed how I looked at every piece of dead hardware in my closet. None of it is junk now. It's all a server waiting to happen.
